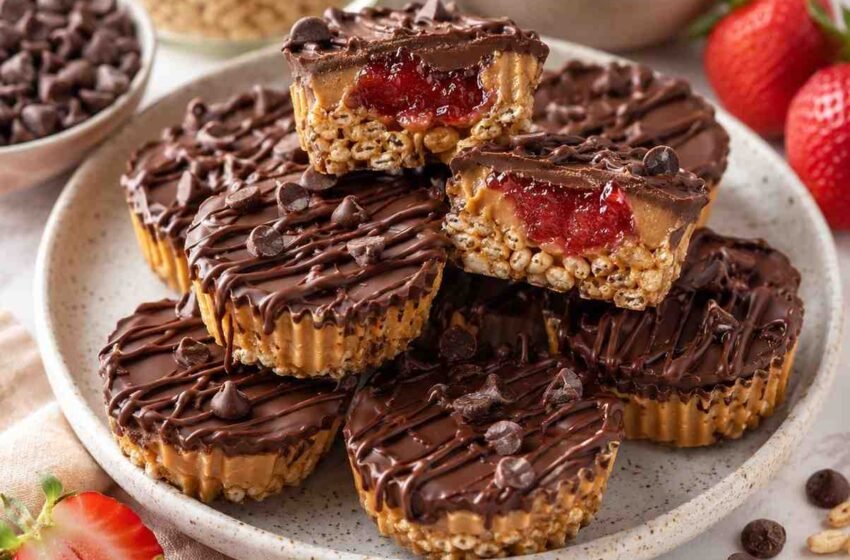
If you love the combination of creamy peanut butter, crisp cereal, and rich chocolate, these no-bake crunch cups are about to become your new favorite homemade treat. They have a satisfying snap on the outside with a soft, creamy center that melts perfectly with every bite. The crunchy cereal adds irresistible texture, while the chocolate coating keeps everything rich and indulgent without feeling overly heavy. These little dessert cups are incredibly easy to prepare and require no oven, making them ideal for warm days, quick dessert cravings, or fun weekend kitchen projects. You can make them with classic peanut butter filling or switch things up with sweet strawberry jam for a fruity twist. They store beautifully in the fridge and are perfect for parties, lunchbox treats, or make-ahead desserts. Whether you are serving them for a casual gathering or simply keeping a batch ready for sweet cravings, these crunchy chocolate cups always disappear fast.
Why You’ll Love This Recipe
- No baking required, making it perfect for quick dessert prep
- Rich chocolate and crunchy cereal create an irresistible texture
- Easy to customize with peanut butter, jam, or other fillings
- Beginner-friendly with simple ingredients and minimal cleanup
- Great for meal prep and storing in the fridge or freezer
- Perfect bite-sized treats for parties, snacks, or dessert platters
Ingredients
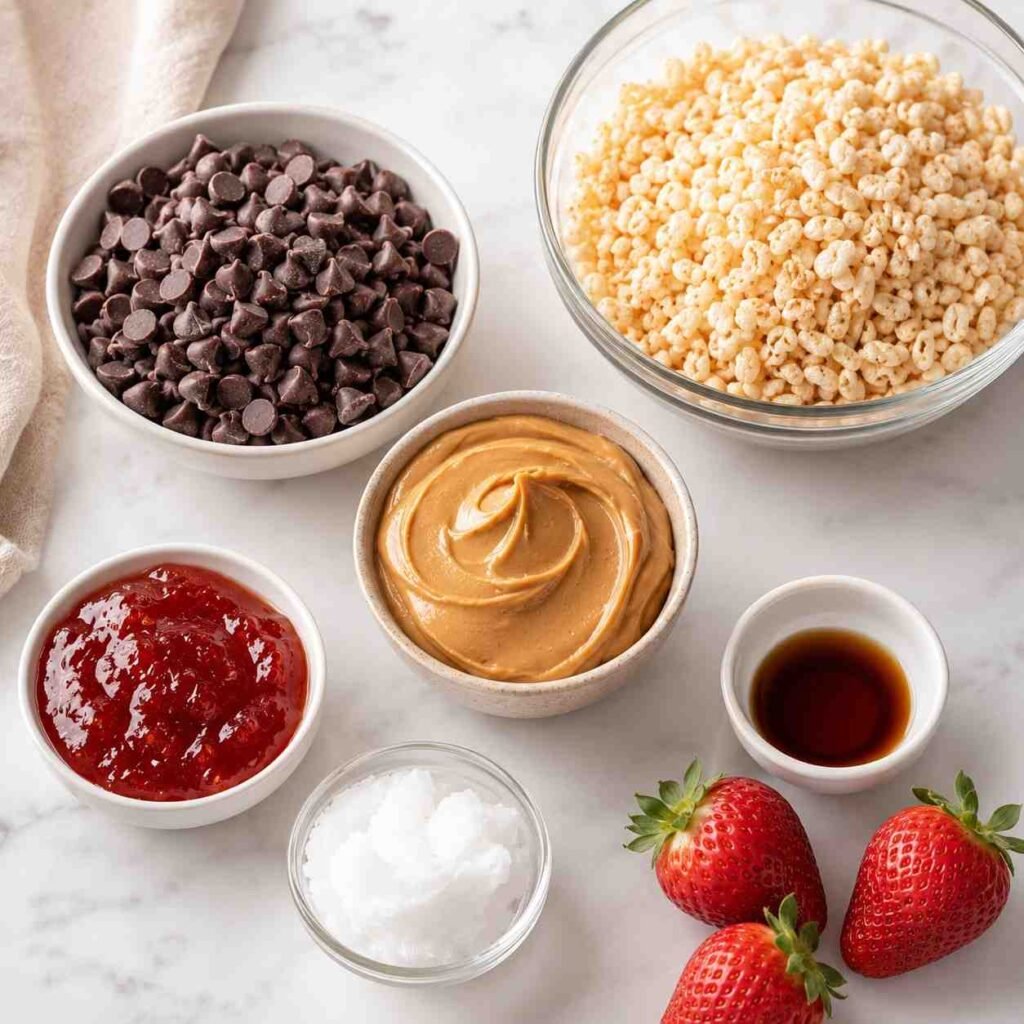
- 2 cups semi-sweet chocolate chips
- 1 tbsp coconut oil
- 1 1/2 cups crispy rice cereal
- 1/2 cup creamy peanut butter
- 1/4 cup strawberry jam
- 1 tsp vanilla extract
- 1 tbsp powdered sugar
- 1 pinch sea salt
Equipment
- Silicone muffin pan
- Microwave-safe bowl
- Mixing bowl
- Rubber spatula
- Spoon
- Measuring cups
- Measuring spoons
- Refrigerator
How to Make No-Bake Chocolate Peanut Butter Crunch Cups
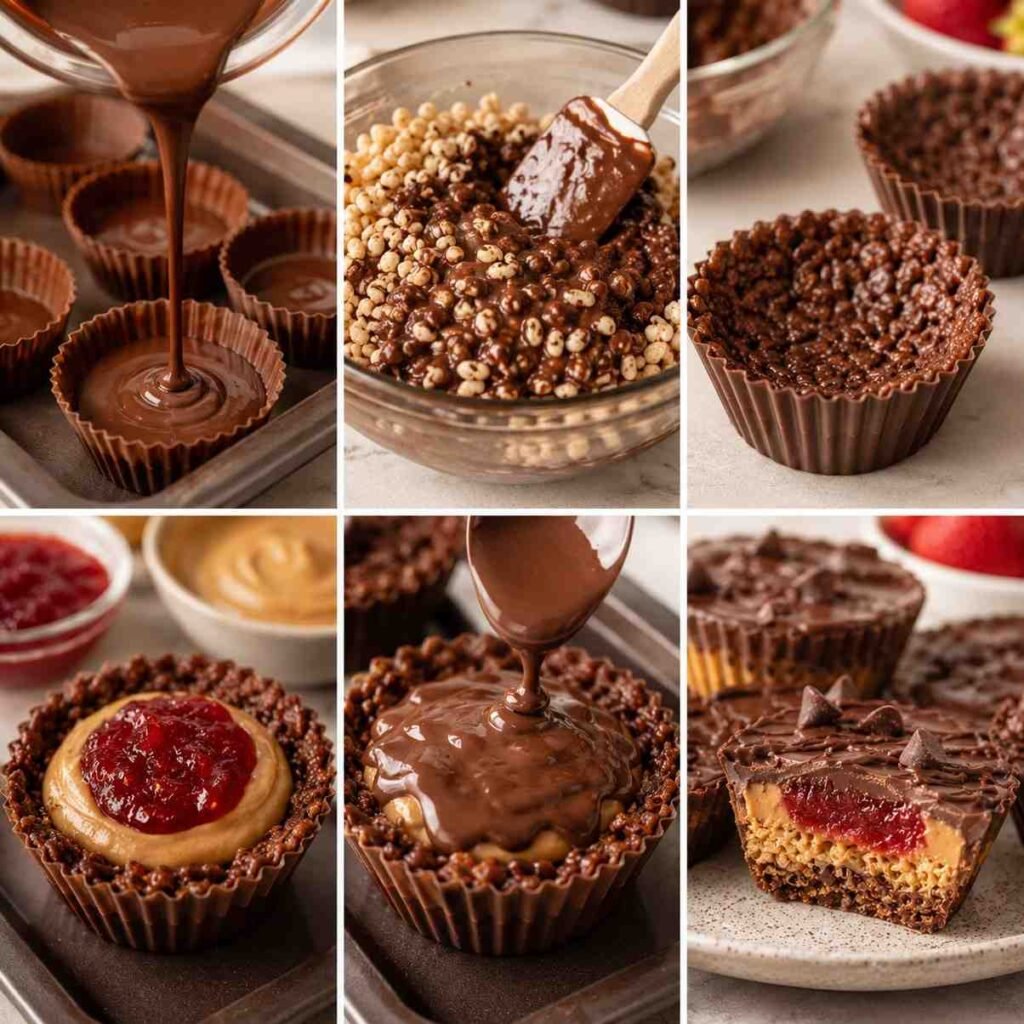
- Place a silicone muffin pan on a flat tray or baking sheet for easy transferring.
- Add the chocolate chips and coconut oil to a microwave-safe bowl and heat in short intervals, stirring between each round until completely smooth and glossy.
- Spoon a small layer of melted chocolate into each muffin cavity and spread it slightly up the sides to create the base.
- Place the tray in the refrigerator for about 10 minutes until the chocolate firms slightly.
- In a mixing bowl, stir together the peanut butter, vanilla extract, powdered sugar, and sea salt until smooth and creamy.
- Add a spoonful of peanut butter filling into the center of each chocolate base without spreading it fully to the edges.
- Add a small spoonful of strawberry jam on top of the peanut butter layer for a sweet fruity contrast.
- Fold the crispy rice cereal into the remaining melted chocolate until every piece is evenly coated.
- Spoon the crunchy chocolate mixture over each cup, gently pressing it down so the filling is sealed inside.
- Smooth the tops with the back of a spoon while the chocolate is still soft.
- Refrigerate the cups for at least 1 hour until firm and fully set.
- Carefully remove the crunch cups from the silicone pan and serve chilled or slightly softened at room temperature.
Recipe Information
Prep Time: 15 minutes
Cook Time or Chill Time: 1 hour
Total Time: 1 hour 15 minutes
Servings: 10 cups
Cuisine: American
Course: Dessert
Flavor Profile Breakdown
- Rich chocolate flavor with a smooth finish
- Creamy peanut butter center with salty-sweet balance
- Crisp cereal adds a satisfying crunchy texture
- Strawberry jam provides bright fruity contrast
- Light vanilla aroma enhances the chocolate notes
Pro Tips for Best Results
- Use high-quality chocolate for smoother melting and better flavor
- Stir chocolate slowly to avoid overheating or burning
- Chill the base layer before adding filling to keep neat layers
- Use silicone molds for easier removal and cleaner edges
- Keep the cups refrigerated for the best texture and crunch
- Lightly tap the tray on the counter to remove air pockets
Variations & Substitutions
- Swap peanut butter with almond butter or sunflower seed butter
- Use dark chocolate instead of semi-sweet for a richer flavor
- Replace strawberry jam with raspberry or cherry preserves
- Add crushed pretzels for a sweet-and-salty crunch
- Use gluten-free crispy cereal if needed
- Sprinkle flaky sea salt on top for extra flavor contrast
Common Mistakes to Avoid
- Overheating chocolate can make it thick and grainy
- Skipping the chilling step may cause messy layers
- Using too much filling can make the cups difficult to seal
- Stirring cereal too aggressively can crush the crunch texture
- Removing the cups before fully chilled may cause breakage
Serving Suggestions
- Serve chilled on a dessert platter with fresh strawberries
- Pair with coffee for an easy afternoon treat
- Add to holiday dessert trays or party snack boards
- Wrap individually for homemade edible gifts
- Enjoy as a sweet lunchbox dessert
Pairing Suggestions
- Cold milk
- Hot coffee
- Vanilla latte
- Fresh berries
- Chocolate milkshake
- Salted caramel ice cream
Storage & Reheating Tips
- Store the cups in an airtight container in the refrigerator for up to 1 week
- Freeze for up to 2 months for longer storage
- Separate layers with parchment paper to prevent sticking
- Let frozen cups sit at room temperature for 10 minutes before eating
- Avoid microwaving to maintain the crunchy texture
Nutrition Information (Approximate)
Calories: 310 kcal
Protein: 5 g
Carbohydrates: 28 g
Fat: 20 g
Fiber: 3 g
Sugar: 18 g
Sodium: 95 mg
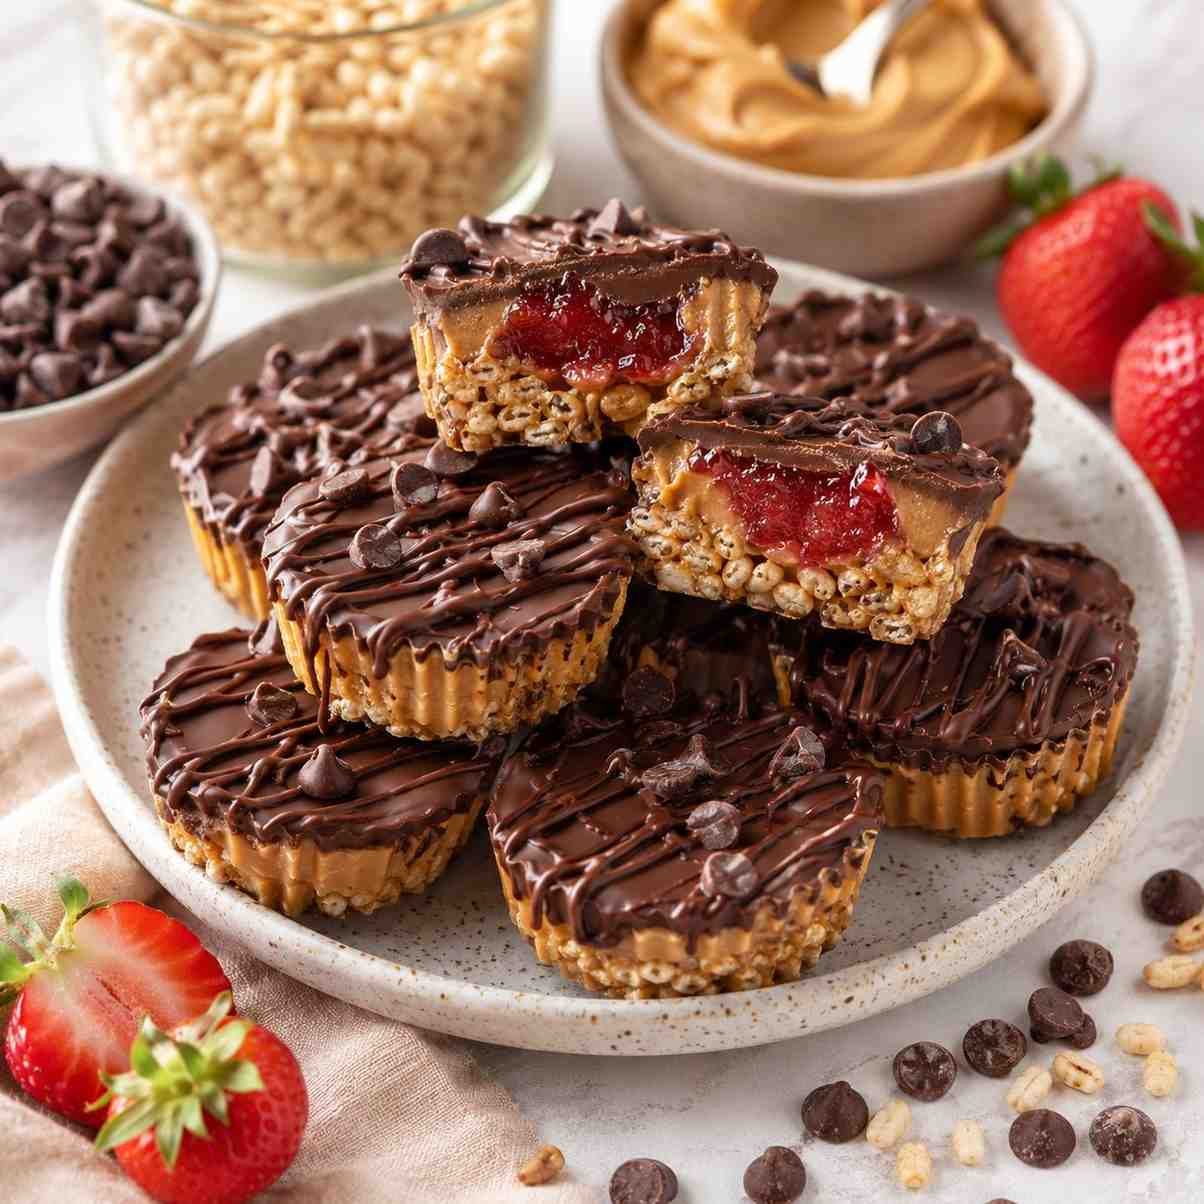

No-Bake Chocolate Peanut Butter Crunch Cups
Ingredients
Method
- Place a silicone muffin pan on a flat tray or baking sheet for easy transferring.
- Add the chocolate chips and coconut oil to a microwave-safe bowl and heat in short intervals, stirring between each round until completely smooth and glossy.
- Spoon a small layer of melted chocolate into each muffin cavity and spread it slightly up the sides to create the base.
- Place the tray in the refrigerator for about 10 minutes until the chocolate firms slightly.
- In a mixing bowl, stir together the peanut butter, vanilla extract, powdered sugar, and sea salt until smooth and creamy.
- Add a spoonful of peanut butter filling into the center of each chocolate base without spreading it fully to the edges.
- Add a small spoonful of strawberry jam on top of the peanut butter layer for a sweet fruity contrast.
- Fold the crispy rice cereal into the remaining melted chocolate until every piece is evenly coated.
- Spoon the crunchy chocolate mixture over each cup, gently pressing it down so the filling is sealed inside.
- Smooth the tops with the back of a spoon while the chocolate is still soft.
- Refrigerate the cups for at least 1 hour until firm and fully set.
- Carefully remove the crunch cups from the silicone pan and serve chilled or slightly softened at room temperature.
Notes
Carbohydrates: 28 g
Fiber: 3 g
Sugar: 18 g
Sodium: 95 mg
Final Thoughts
These no-bake chocolate peanut butter crunch cups are the perfect combination of creamy, crunchy, rich, and sweet. They are easy enough for beginner cooks but impressive enough to serve at gatherings or celebrations. The layered texture and customizable filling options make them a fun dessert to prepare any time of year. Whether you choose classic peanut butter, fruity strawberry jam, or your own creative twist, every bite delivers satisfying crunch and smooth chocolate flavor. Keep a batch chilled in the fridge for quick desserts, snack cravings, or easy entertaining.
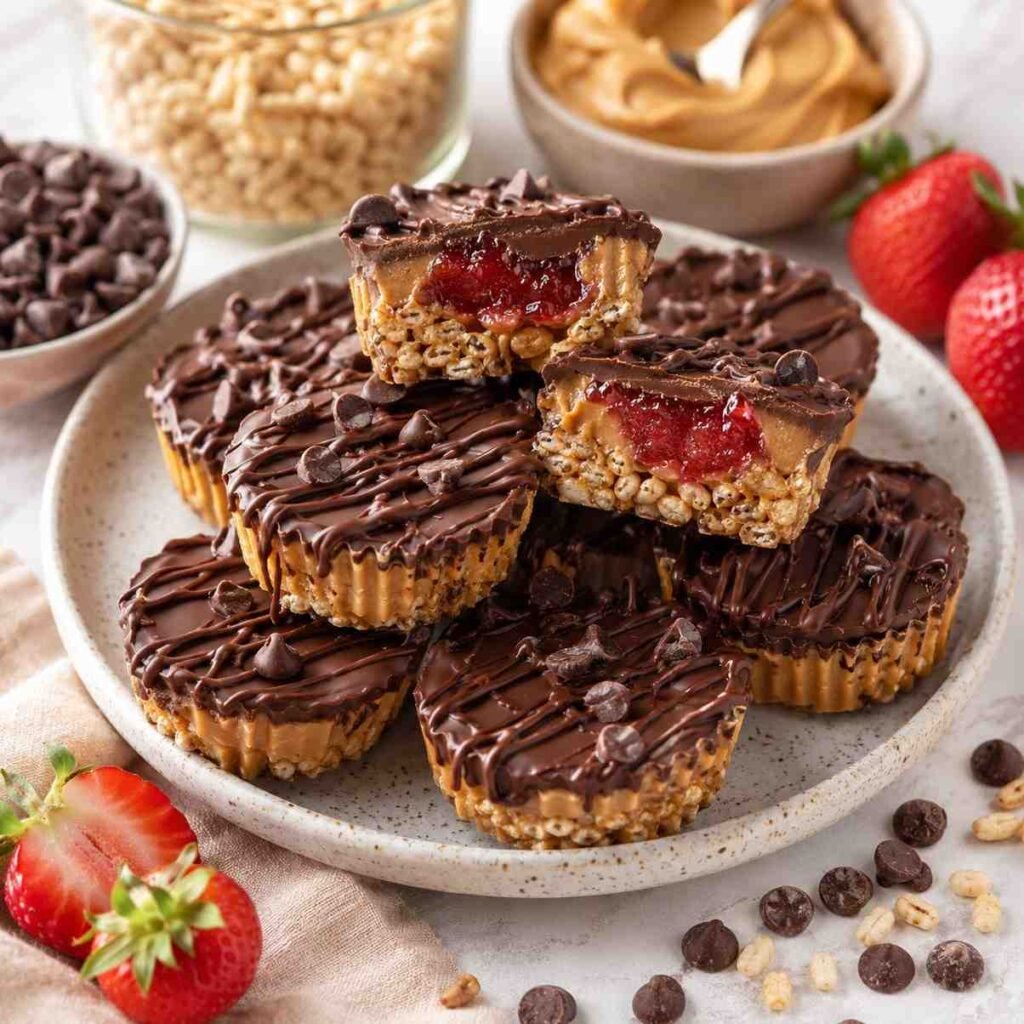
FAQs-No-Bake Chocolate Peanut Butter Crunch Cups
Can I use crunchy peanut butter instead of creamy peanut butter?
Yes, crunchy peanut butter works well and adds even more texture to the filling.
Do these chocolate crunch cups need to stay refrigerated?
Yes, storing them in the refrigerator helps maintain their shape and texture.
Can I make these dairy-free?
Absolutely. Use dairy-free chocolate chips and confirm your cereal ingredients are dairy-free.
What cereal works best for crunch cups?
Crispy rice cereal works best because it stays light and crunchy inside the chocolate.
Can I skip the strawberry jam layer?
Yes, the jam is optional and the recipe still tastes delicious with only peanut butter filling.
How long do these stay fresh?
They stay fresh in the refrigerator for about one week when stored in an airtight container.