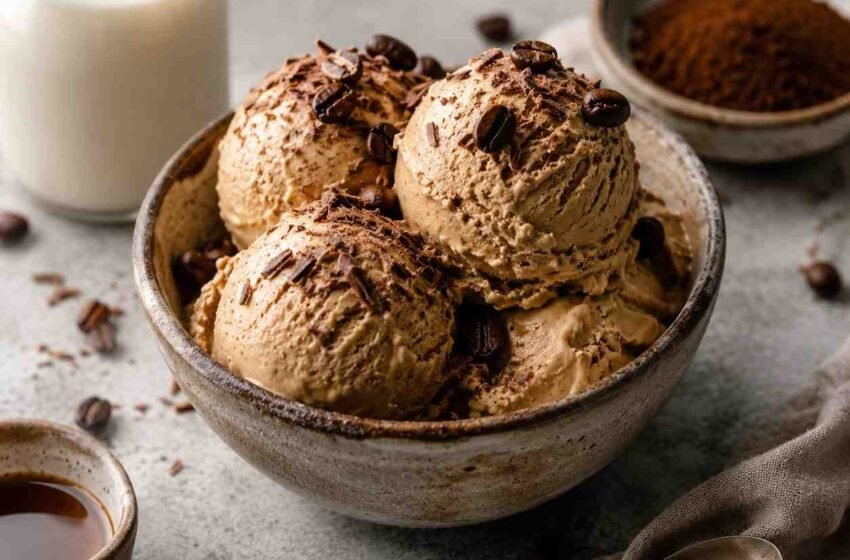
If you love the deep aroma of freshly brewed coffee and the silky texture of homemade desserts, this creamy coffee ice cream is going to become a favorite in your kitchen. It combines bold coffee flavor with rich cream and smooth sweetness for a frozen treat that tastes luxurious yet surprisingly simple to make. Every spoonful delivers a balance of roasted espresso notes and velvety texture that melts beautifully on the tongue. This recipe is perfect for warm summer afternoons, dinner parties, or anytime you crave a café-style dessert at home. The scent of coffee filling the kitchen while the base chills is comforting and irresistible. Unlike overly sweet store-bought versions, this homemade coffee ice cream has a deeper flavor and a more natural creaminess. Whether served in a cone, bowl, or alongside warm brownies, it creates a dessert experience that feels both elegant and comforting.
Why You’ll Love This Recipe
- Rich coffee flavor with a smooth and creamy finish
- Easy-to-follow method suitable for beginners
- Made with simple pantry-friendly ingredients
- Perfect make-ahead dessert for gatherings
- Customizable with chocolate chips, caramel, or nuts
- Tastes like premium café-style ice cream at home
Ingredients
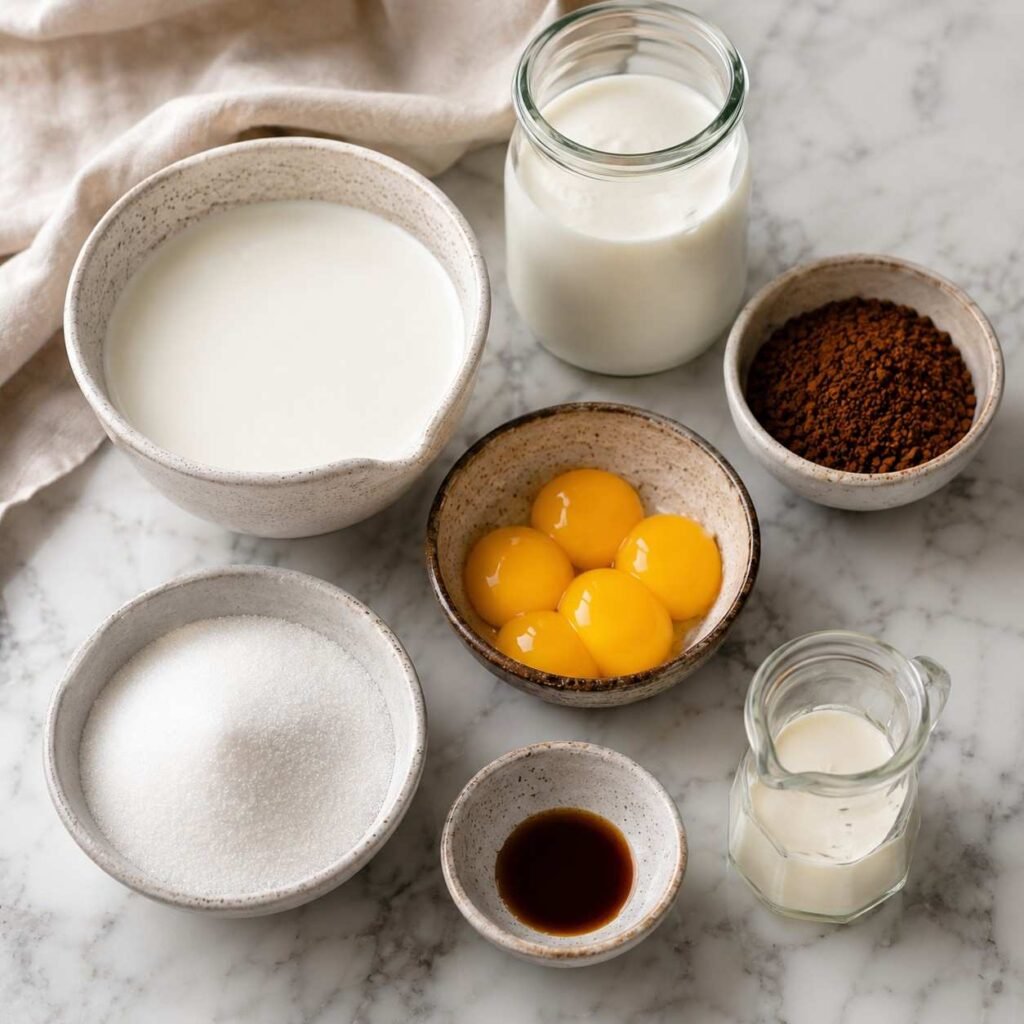
- 2 cups (480 ml) heavy cream
- 1 cup (240 ml) whole milk
- 3/4 cup (150 g) granulated sugar
- 2 tbsp (12 g) instant espresso powder
- 1 tbsp (15 ml) hot water
- 4 large egg yolks
- 1 tsp (5 ml) vanilla extract
- 1/4 tsp salt
Equipment
- Medium saucepan
- Mixing bowls
- Whisk
- Measuring cups
- Measuring spoons
- Fine mesh strainer
- Rubber spatula
- Ice cream maker
- Airtight freezer container
How to Make Rich and Creamy Coffee Ice Cream at Home
- Whisk the instant espresso powder with hot water in a small bowl until completely dissolved and smooth.
- Pour the heavy cream and whole milk into a saucepan and heat gently over medium-low heat until warm and lightly steaming without boiling.
- Whisk the egg yolks, sugar, and salt in a mixing bowl until the mixture becomes pale and slightly thickened.
- Slowly pour a small amount of the warm cream mixture into the egg mixture while whisking constantly to prevent scrambling.
- Gradually add the remaining warm cream mixture while continuing to whisk until fully combined.
- Return the custard mixture to the saucepan and cook over low heat, stirring constantly with a spatula until it thickens enough to coat the back of a spoon.
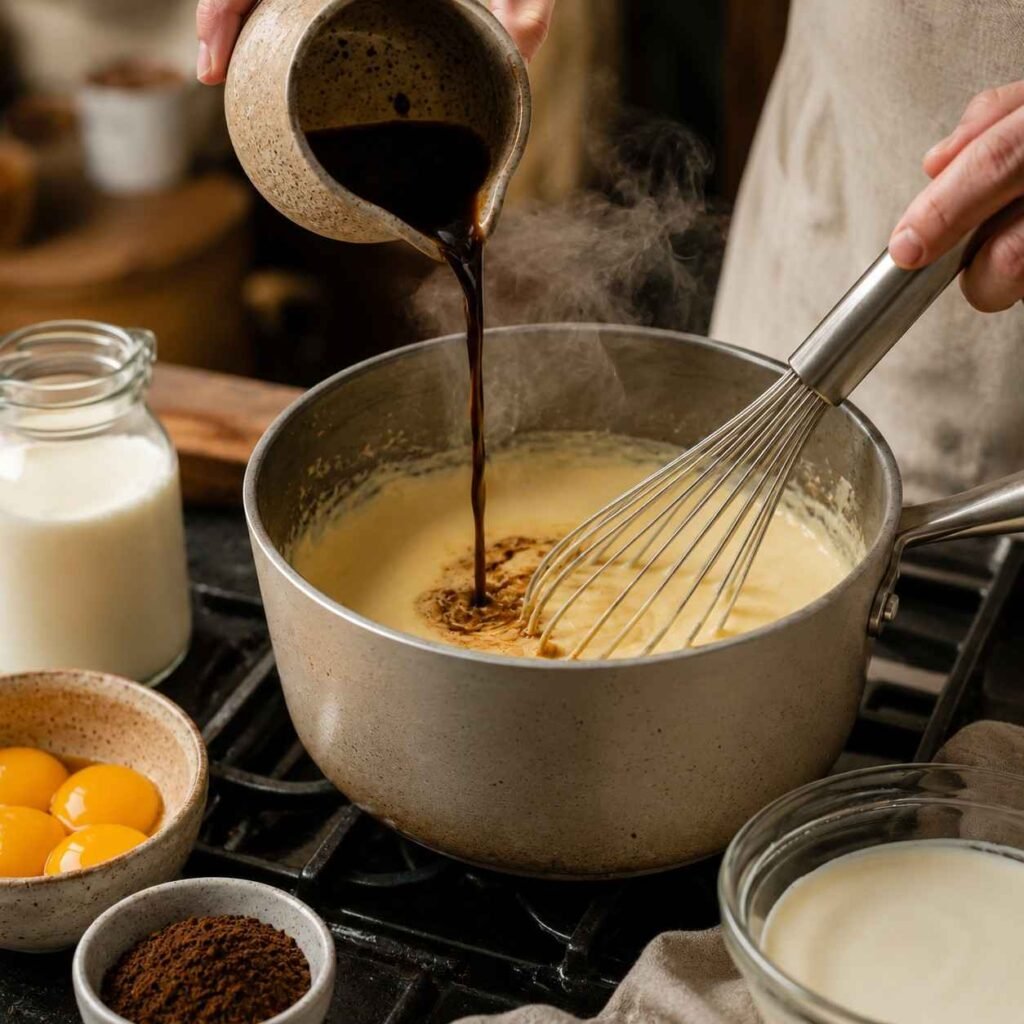
- Stir in the dissolved espresso mixture and vanilla extract until the color becomes evenly light mocha brown.
- Strain the custard through a fine mesh strainer into a clean bowl for an extra silky texture.
- Cover and chill the mixture in the refrigerator for several hours until completely cold and slightly thickened.
- Pour the chilled base into an ice cream maker and churn according to the manufacturer’s instructions until soft, creamy, and fluffy.
- Transfer the ice cream to an airtight container and freeze until firm and scoopable.
- Let the ice cream sit at room temperature for a few minutes before serving for the smoothest texture.
Recipe Information
Prep Time: 20 minutes
Cook Time or Chill Time (if applicable): 6 hours
Total Time: 6 hours 20 minutes
Servings: 6
Cuisine: American
Course: Dessert
Flavor Profile Breakdown
- Deep roasted coffee flavor with smooth sweetness
- Velvety and creamy texture that melts slowly
- Light vanilla aroma balancing the espresso notes
- Rich dairy base with a clean coffee finish
- Slightly bold yet mellow overall taste
Pro Tips for Best Results
- Use high-quality instant espresso powder for the richest flavor
- Chill the custard thoroughly before churning for a creamier texture
- Stir constantly while cooking the custard to avoid curdling
- Freeze the storage container beforehand to help the ice cream set faster
- Allow the ice cream to soften slightly before scooping for smooth servings
- Add mix-ins during the last minute of churning for even distribution
Variations & Substitutions
- Swap instant espresso powder with strongly brewed espresso concentrate
- Add mini chocolate chips for a mocha-inspired version
- Use brown sugar for a slightly caramel-like depth
- Replace whole milk with half-and-half for extra richness
- Stir in crushed cookies or chocolate-covered espresso beans
- Use dairy-free cream and milk alternatives for a lactose-free version
Common Mistakes to Avoid
- Boiling the custard can create a grainy texture
- Skipping the chilling step may result in icy ice cream
- Over-churning can make the texture buttery instead of creamy
- Using weak coffee can lead to bland flavor
- Freezing without an airtight container may cause freezer burn
- Not tempering the eggs properly can create scrambled bits
Serving Suggestions
- Scoop into waffle cones or chilled dessert bowls
- Serve alongside warm brownies or chocolate cake
- Drizzle with chocolate or caramel sauce
- Top with whipped cream and cocoa powder
- Pair with biscotti for a café-inspired dessert plate
- Garnish with chocolate-covered espresso beans
Pairing Suggestions
- Freshly brewed espresso or cappuccino
- Dark chocolate cookies
- Almond biscotti
- Salted caramel brownies
- Warm chocolate lava cake
- Hazelnut pastries
Storage & Reheating Tips
- Store in an airtight freezer-safe container for up to 2 weeks
- Press parchment paper against the surface to reduce ice crystals
- Keep the container in the coldest part of the freezer
- Let the ice cream rest at room temperature for 5 minutes before scooping
- Avoid repeated thawing and refreezing to preserve texture
Nutrition Information (Approximate)
Calories: 340 kcal
Protein: 5 g
Carbohydrates: 24 g
Fat: 25 g
Fiber: 0 g
Sugar: 21 g
Sodium: 85 mg
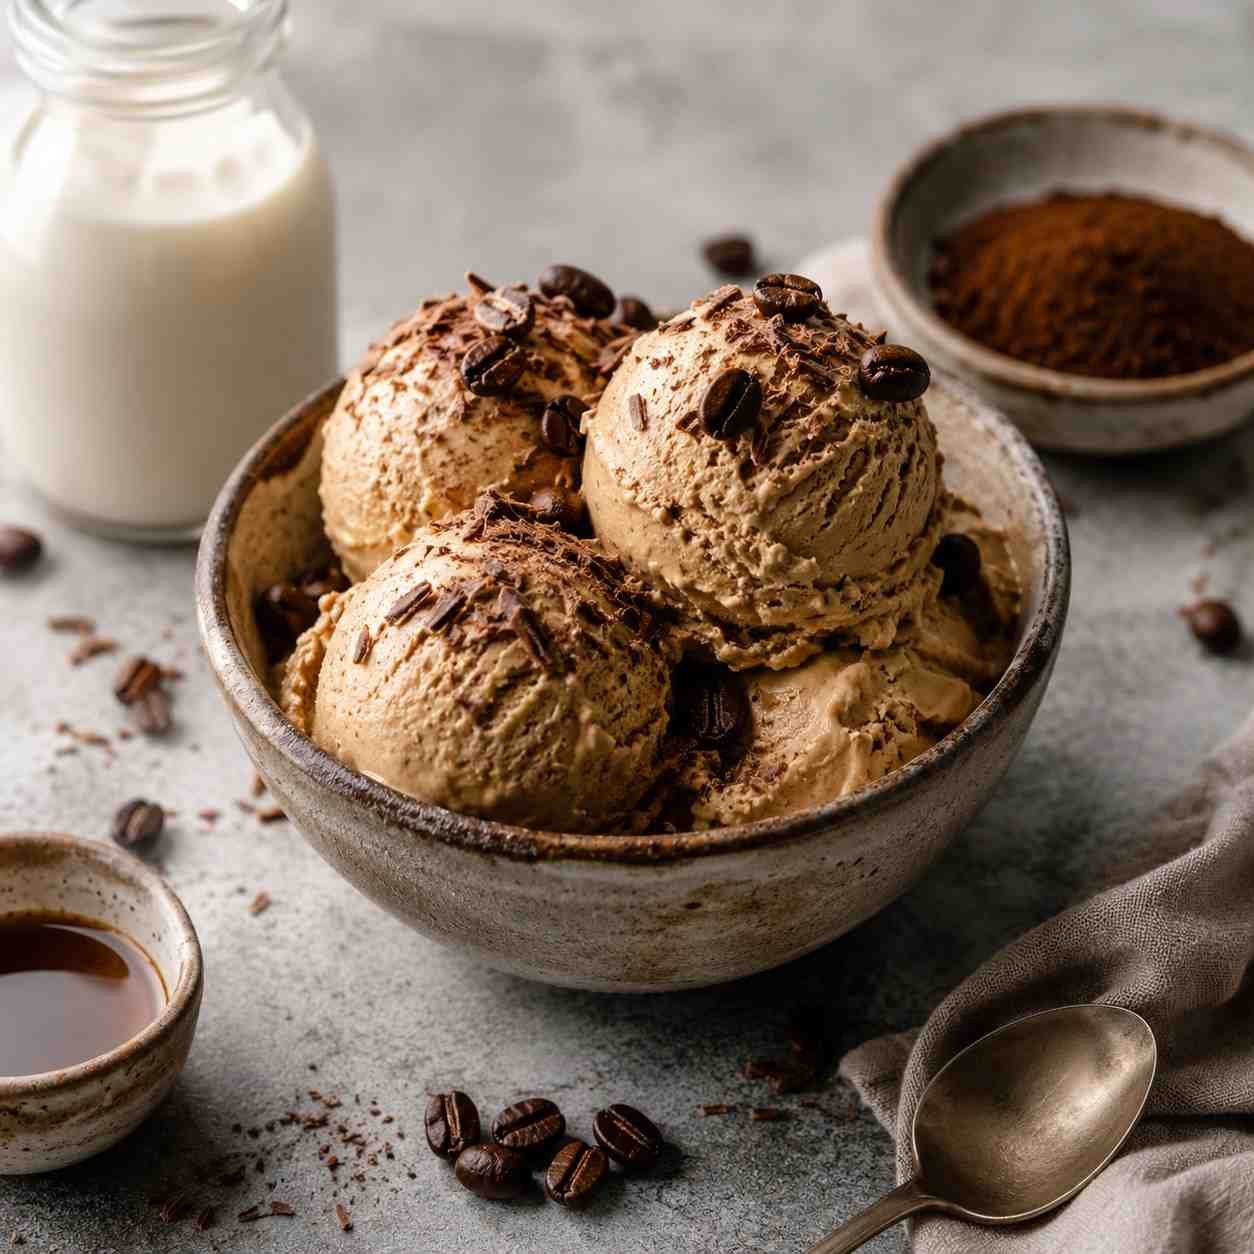

Rich and Creamy Coffee Ice Cream at Home
Ingredients
Notes
Carbohydrates: 24 g
Fat: 25 g
Fiber: 0 g
Sugar: 21 g
Sodium: 85 mg
Final Thoughts
Homemade coffee ice cream delivers the perfect balance of creamy richness and bold coffee flavor in every scoop. It feels indulgent yet comforting, making it ideal for both casual desserts and special occasions. The smooth custard base creates a luxurious texture that rivals premium ice cream shops, while the deep espresso aroma gives it a sophisticated finish. Once you try making it from scratch, it quickly becomes a freezer favorite for coffee lovers. Whether enjoyed on its own or paired with baked desserts, this recipe offers a satisfying café-style experience right at home.
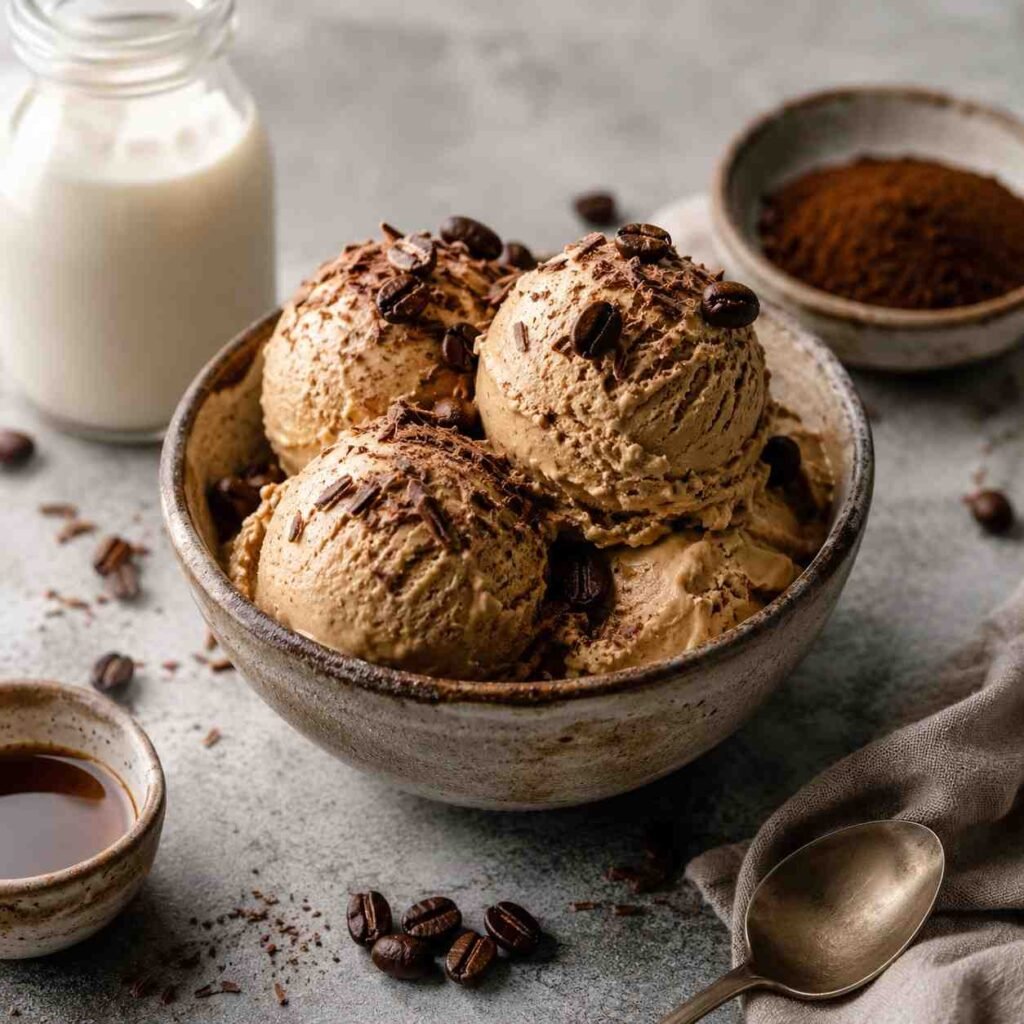
FAQs-Rich and Creamy Coffee Ice Cream at Home
Can I make coffee ice cream without an ice cream maker?
Yes, you can freeze the mixture in a shallow container and stir it every 30 minutes until creamy and fully frozen.
What type of coffee works best for this recipe?
Instant espresso powder provides the strongest and smoothest coffee flavor, but concentrated brewed espresso also works well.
Why is my homemade ice cream icy instead of creamy?
Insufficient chilling, low fat content, or improper storage can cause ice crystals to form.
Can I add chocolate chips or nuts?
Yes, fold them in during the final minute of churning for even texture and distribution.
How long does homemade coffee ice cream last in the freezer?
It stays freshest for about 2 weeks when stored in an airtight container.
Can I reduce the sweetness in the recipe?
Yes, but reducing too much sugar may affect the smooth texture and scoopability.