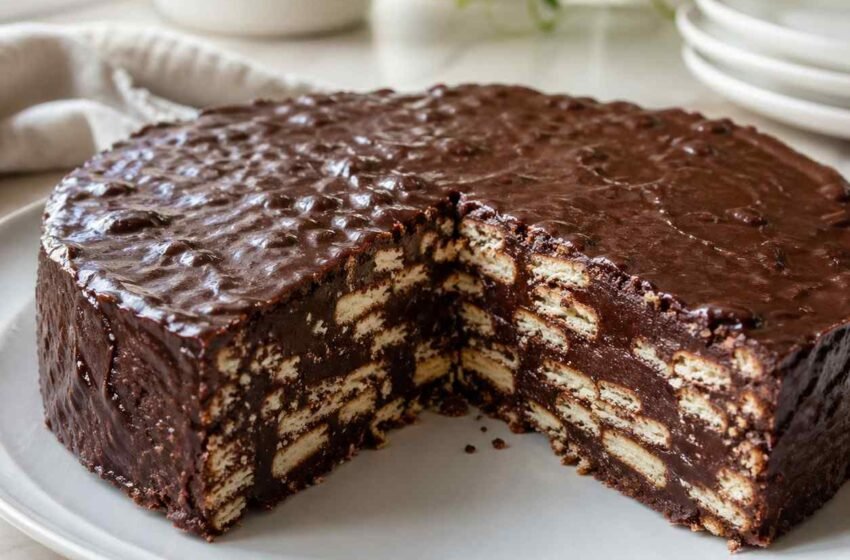
Chocolate biscuit cake is one of those timeless desserts that feels both indulgent and incredibly simple to prepare. This no-bake treat combines crunchy biscuit pieces with a smooth, rich chocolate mixture, creating a dessert that’s dense, fudgy, and perfectly balanced in texture. Each bite offers a satisfying contrast between the slight crunch of the biscuits and the silky chocolate coating that melts in your mouth. It’s an excellent option when you want something impressive without turning on the oven, especially during warmer days or busy weeks. The aroma of melted chocolate blending with buttery sweetness makes the process just as enjoyable as the final result. Whether you’re preparing it for a celebration, afternoon tea, or a quick sweet fix, this dessert fits effortlessly into any occasion. Simple ingredients and minimal effort make it a favorite for both beginners and experienced home cooks alike.
Why You’ll Love This Recipe
- No baking required, making it quick and beginner-friendly
- Rich, chocolatey flavor with a satisfying crunchy texture
- Uses simple pantry ingredients you likely already have
- Perfect make-ahead dessert for gatherings or events
- Easily customizable with add-ins like nuts or dried fruit
Ingredients
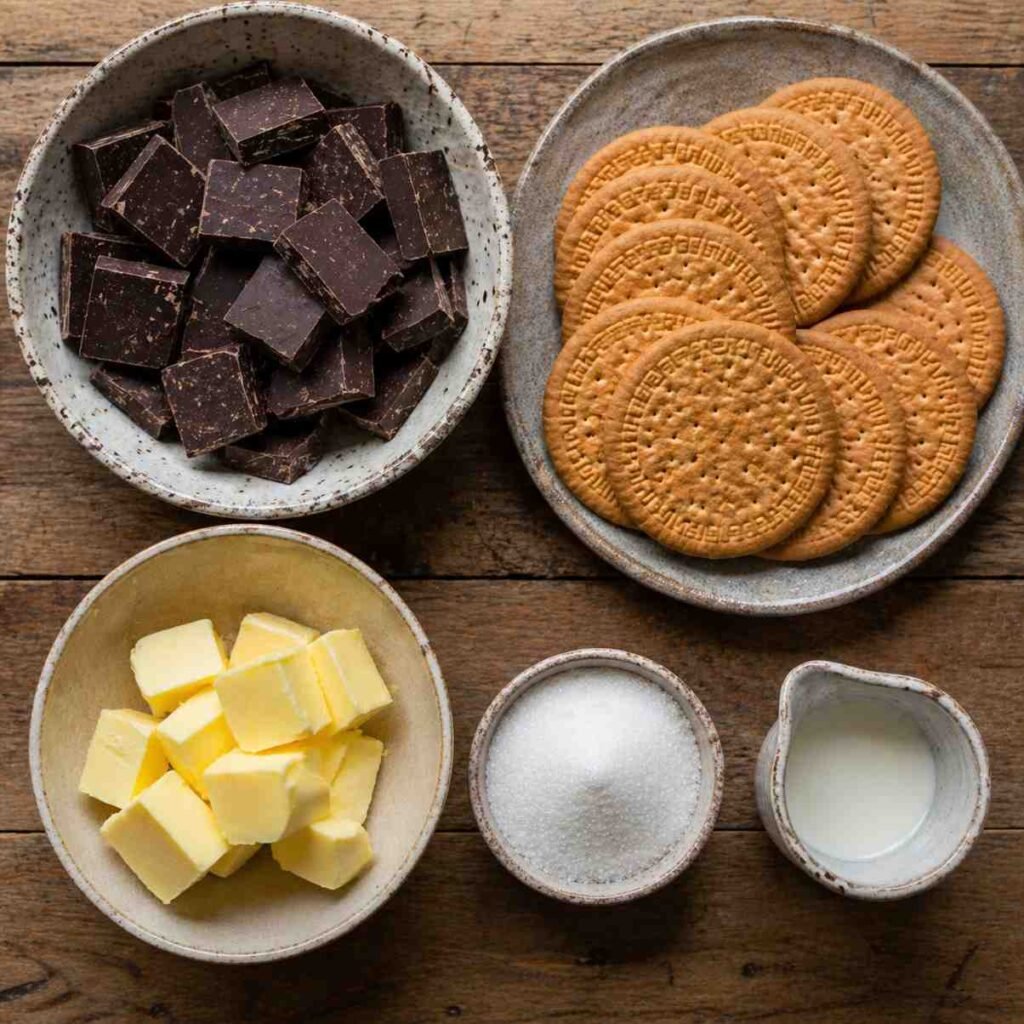
- 225 g tea biscuits or digestive biscuits, broken into pieces
- 150 g dark chocolate, chopped
- 120 g unsalted butter, softened
- 150 g caster sugar
- 1 g salt
- 200 g dark chocolate (for coating)
Equipment
- Mixing bowl
- Saucepan or double boiler
- Spatula
- Cake tin (15 cm or 6-inch)
- Parchment paper
- Cooling rack
- Knife
How to Make No-Bake Chocolate Biscuit Cake
- Line the cake tin with parchment paper, ensuring the base and sides are covered neatly.
- Break the biscuits into small chunks, keeping a mix of crumbs and larger pieces for texture.
- In a bowl, beat the butter, sugar, and salt until the mixture becomes light, creamy, and smooth.
- Melt the chopped chocolate gently over a double boiler or in short microwave bursts until glossy and smooth.
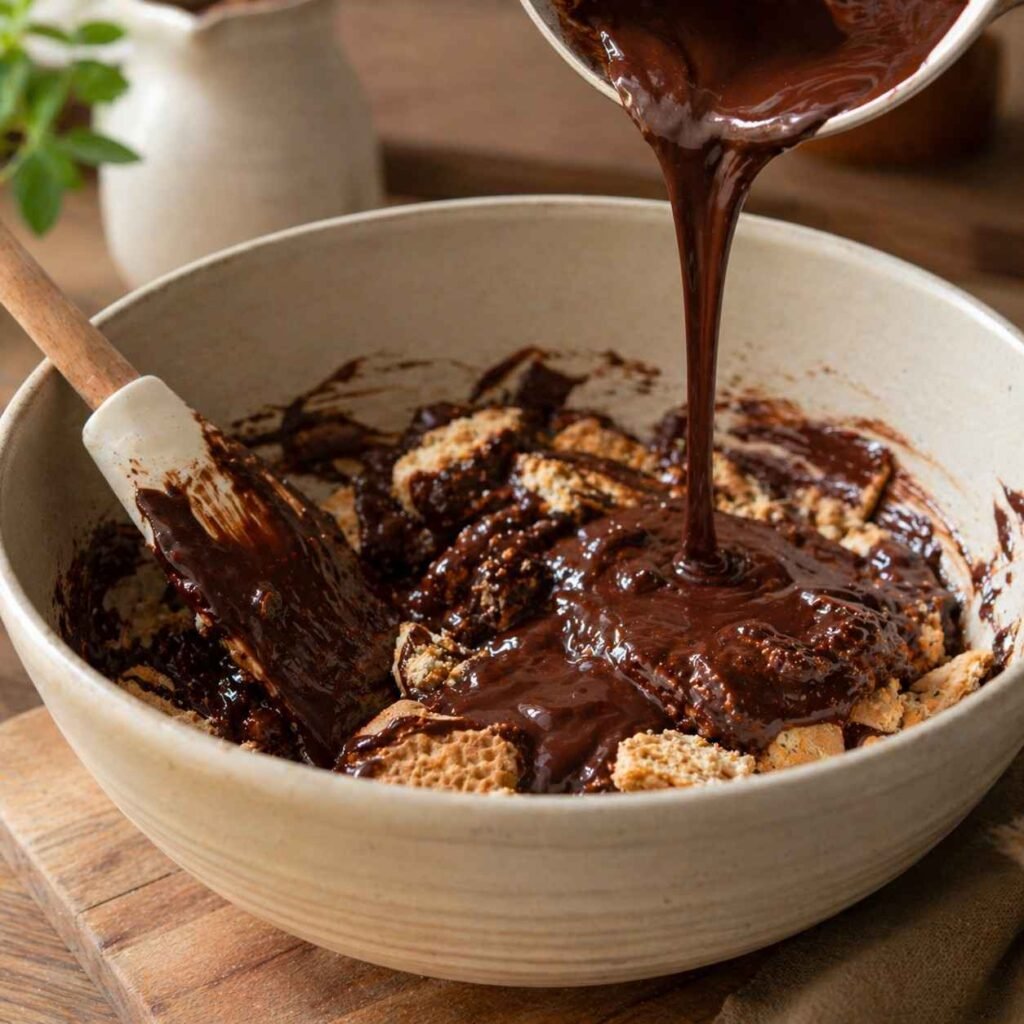
- Stir the melted chocolate into the butter mixture until fully combined and silky.
- Fold the biscuit pieces into the chocolate mixture, making sure every piece is well coated.
- Transfer the mixture into the prepared tin and press it down firmly to remove any air gaps and create an even layer.
- Chill in the refrigerator for about 3–4 hours until the mixture is fully set and firm.
- Remove the cake from the tin and place it on a rack.
- Melt the coating chocolate until smooth and pour it evenly over the top, letting it drip slightly down the sides.
- Smooth the surface with a spatula and allow it to set at room temperature until the coating is firm.
- Slice into portions once set, noticing the clean layers of biscuit and chocolate.
Recipe Information
Prep Time: 20 minutes
Chill Time: 4 hours
Total Time: 4 hours 20 minutes
Servings: 12 slices
Cuisine: British
Course: Dessert
Flavor Profile Breakdown
- Deep, rich chocolate flavor with slight bitterness from dark chocolate
- Buttery sweetness that balances the cocoa notes
- Crunchy biscuit pieces adding structure and contrast
- Smooth, glossy chocolate coating with a clean snap
- Mildly sweet aroma with hints of cocoa and caramelized sugar
Pro Tips for Best Results
- Use high-quality chocolate for a smoother texture and better flavor
- Keep biscuit pieces uneven for a more interesting bite
- Press the mixture firmly into the tin to avoid crumbly slices
- Allow the coating chocolate to cool slightly before pouring for better control
- Let the cake sit at room temperature for a few minutes before slicing
Variations & Substitutions
- Swap biscuits with graham crackers or Marie biscuits
- Add 50 g chopped nuts like almonds or hazelnuts for crunch
- Mix in 50 g dried fruits such as raisins or cranberries
- Use milk chocolate for a sweeter flavor profile
- Replace part of the chocolate with white chocolate for a marbled effect
Common Mistakes to Avoid
- Overheating chocolate, which can cause it to seize
- Using large biscuit chunks that make slicing difficult
- Not chilling long enough, resulting in a soft, unstable cake
- Skipping parchment paper, making removal difficult
- Pouring coating chocolate when too hot, causing uneven layers
Serving Suggestions
- Slice into neat squares for a clean presentation
- Serve slightly softened for the best texture
- Pair with fresh berries for a refreshing contrast
- Dust lightly with cocoa powder for a decorative finish
- Present on a cake stand for an elegant touch
Pairing Suggestions
- Hot black tea or English breakfast tea
- Freshly brewed coffee or espresso
- Cold milk for a classic combination
- Light vanilla ice cream for contrast
- Fresh fruit salad for balance
Storage & Reheating Tips
- Store in an airtight container in the refrigerator for up to 5 days
- Keep slices separated with parchment to maintain shape
- Avoid freezing if possible, as texture may slightly change
- Let sit at room temperature for 10–15 minutes before serving
- Do not microwave, as it may melt unevenly
Nutrition Information (Approximate)
Calories: 320 kcal
Protein: 3 g
Carbohydrates: 28 g
Fat: 22 g
Fiber: 2 g
Sugar: 18 g
Sodium: 60 mg
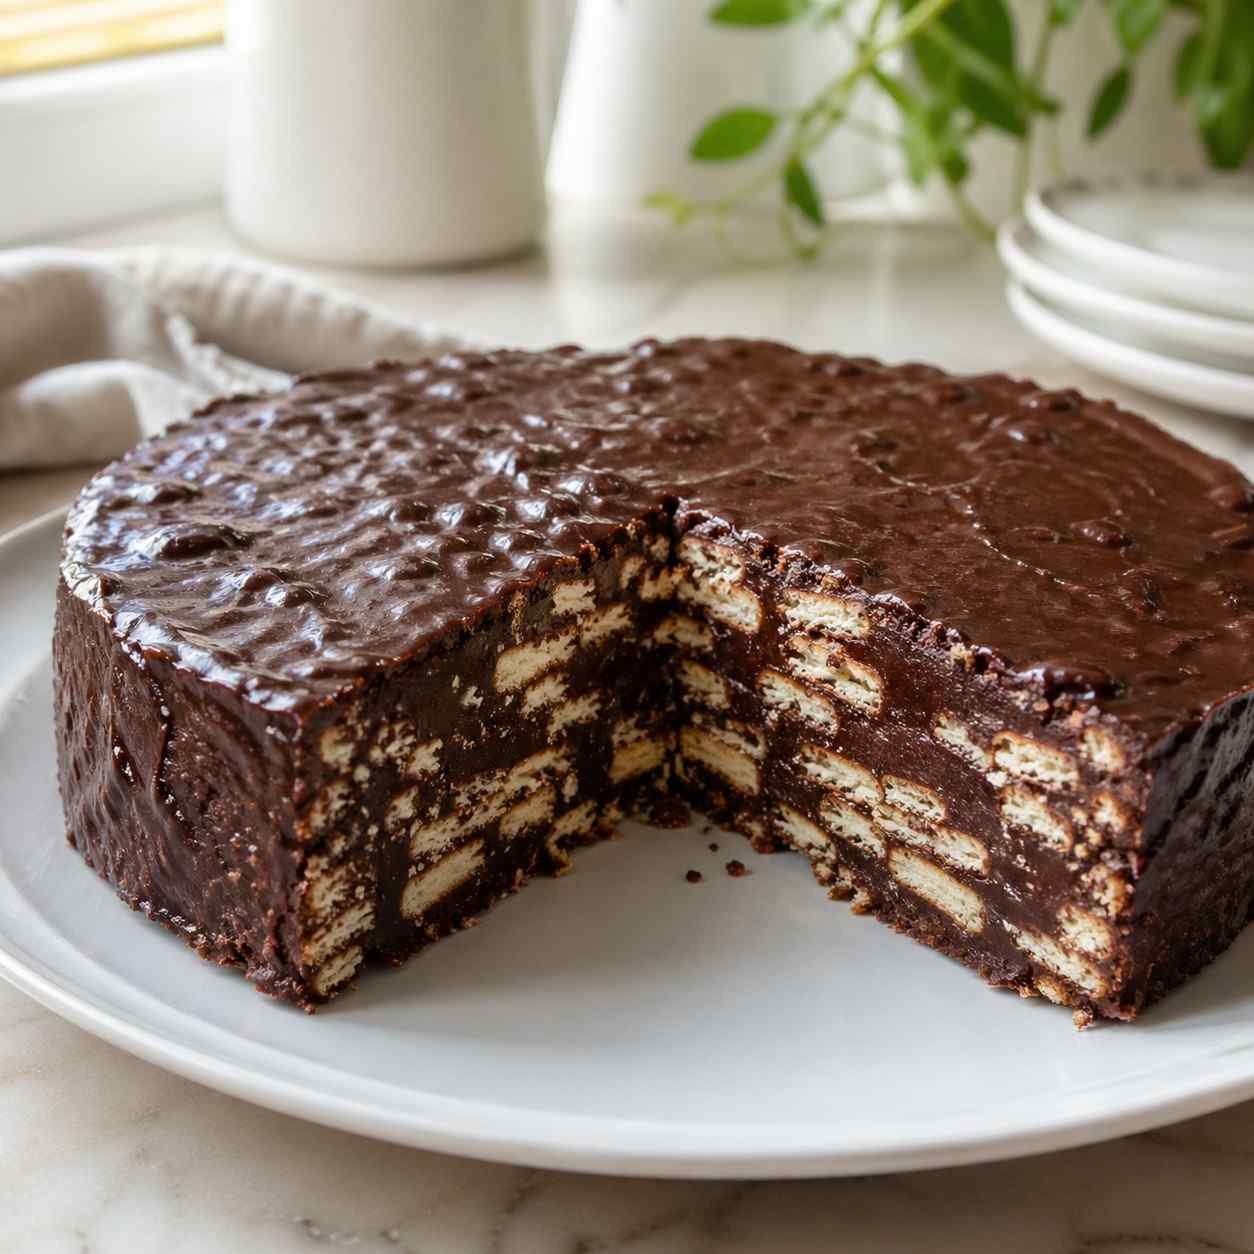

No-Bake Chocolate Biscuit Cake – Simple Tiffin Recipe
Ingredients
Method
- Line the cake tin with parchment paper, ensuring the base and sides are covered neatly
- Break the biscuits into small chunks, keeping a mix of crumbs and larger pieces for texture
- In a bowl, beat the butter, sugar, and salt until the mixture becomes light, creamy, and smooth
- Melt the chopped chocolate gently over a double boiler or in short microwave bursts until glossy and smooth
- Stir the melted chocolate into the butter mixture until fully combined and silky
- Fold the biscuit pieces into the chocolate mixture, making sure every piece is well coated
- Transfer the mixture into the prepared tin and press it down firmly to remove any air gaps and create an even layer
- Chill in the refrigerator for about 3–4 hours until the mixture is fully set and firm
- Remove the cake from the tin and place it on a rack
- Melt the coating chocolate until smooth and pour it evenly over the top, letting it drip slightly down the sides
- Smooth the surface with a spatula and allow it to set at room temperature until the coating is firm
- Slice into portions once set, noticing the clean layers of biscuit and chocolate
Notes
Carbohydrates: 28 g
Fat: 22 g
Fiber: 2 g
Sugar: 18 g
Sodium: 60 mg
Final Thoughts
Chocolate biscuit cake is proof that simple ingredients can create something truly special. Its no-bake nature makes it accessible, while the rich flavor and satisfying texture make it unforgettable. Once you try it, it’s likely to become a regular favorite in your dessert rotation.
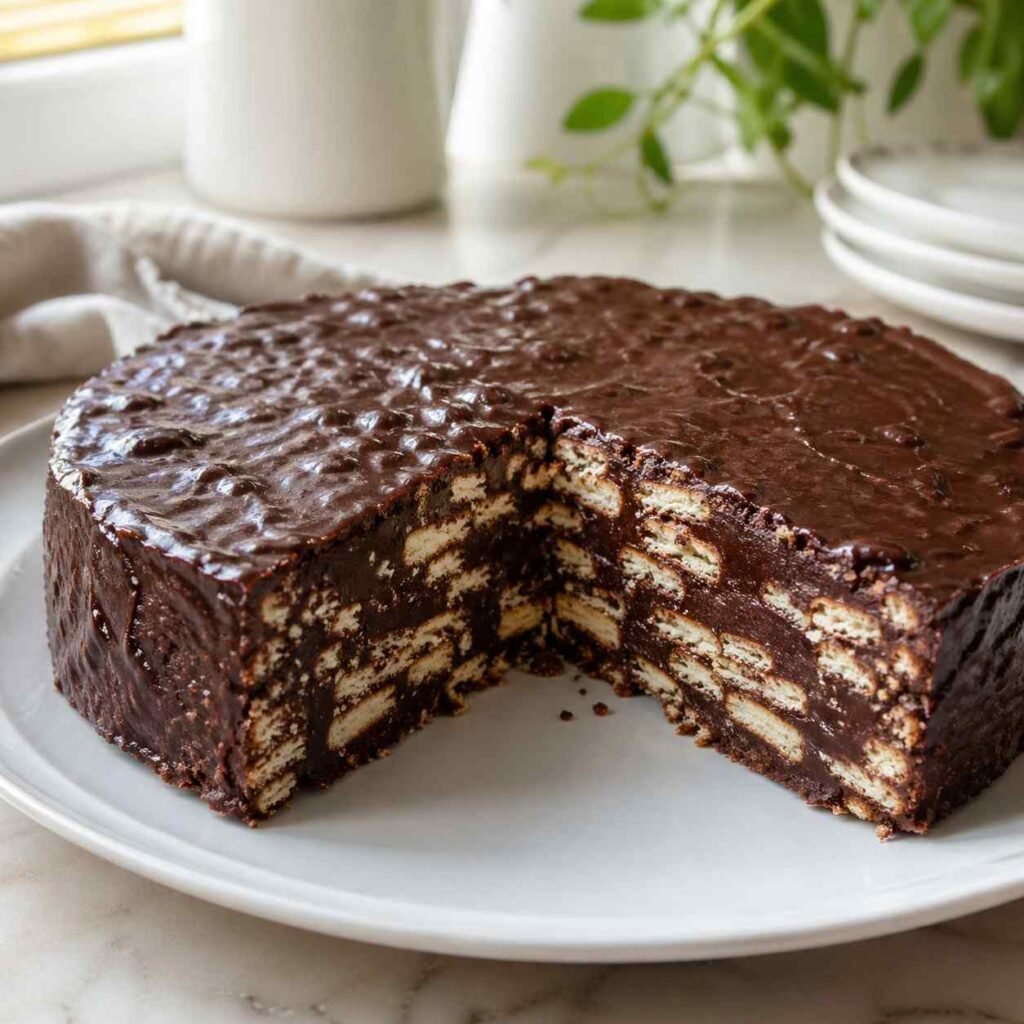
FAQs-No-Bake Chocolate Biscuit Cake
Can I make this recipe ahead of time?
Yes, it’s ideal for making in advance since it needs time to chill and set properly.
What type of biscuits work best?
Plain tea biscuits or digestive-style biscuits hold their texture well and provide the best structure.
Can I use milk chocolate instead of dark chocolate?
Yes, but the result will be sweeter and less intense in flavor.
Why is my cake falling apart?
It may not have been pressed firmly enough or chilled long enough to set properly.
Can I add extra ingredients like nuts or candy?
Absolutely, this recipe is very flexible and works well with a variety of mix-ins.